


Master the Right Steps and Install a Professional, Comfortable, and Safe Standard Stable with Ease
A high-quality stable not only ensures the health and safety of your horses but also reflects the professional standard of your ranch. Today, HopeHorse will guide you through each step to help you complete your stable construction smoothly!
Choose a location with high ground and good drainage to prevent water accumulation.
Design the stable layout in advance, including stall sizes, aisle widths, and window and door placements.
Decide whether to use sliding doors or hinged doors, and whether to install rubber flooring.
Clear the site, compact the soil, and level the ground.
Pour a concrete foundation, leaving a 1–2% slope for proper drainage.
If needed, embed drainage channels or drains into the ground.
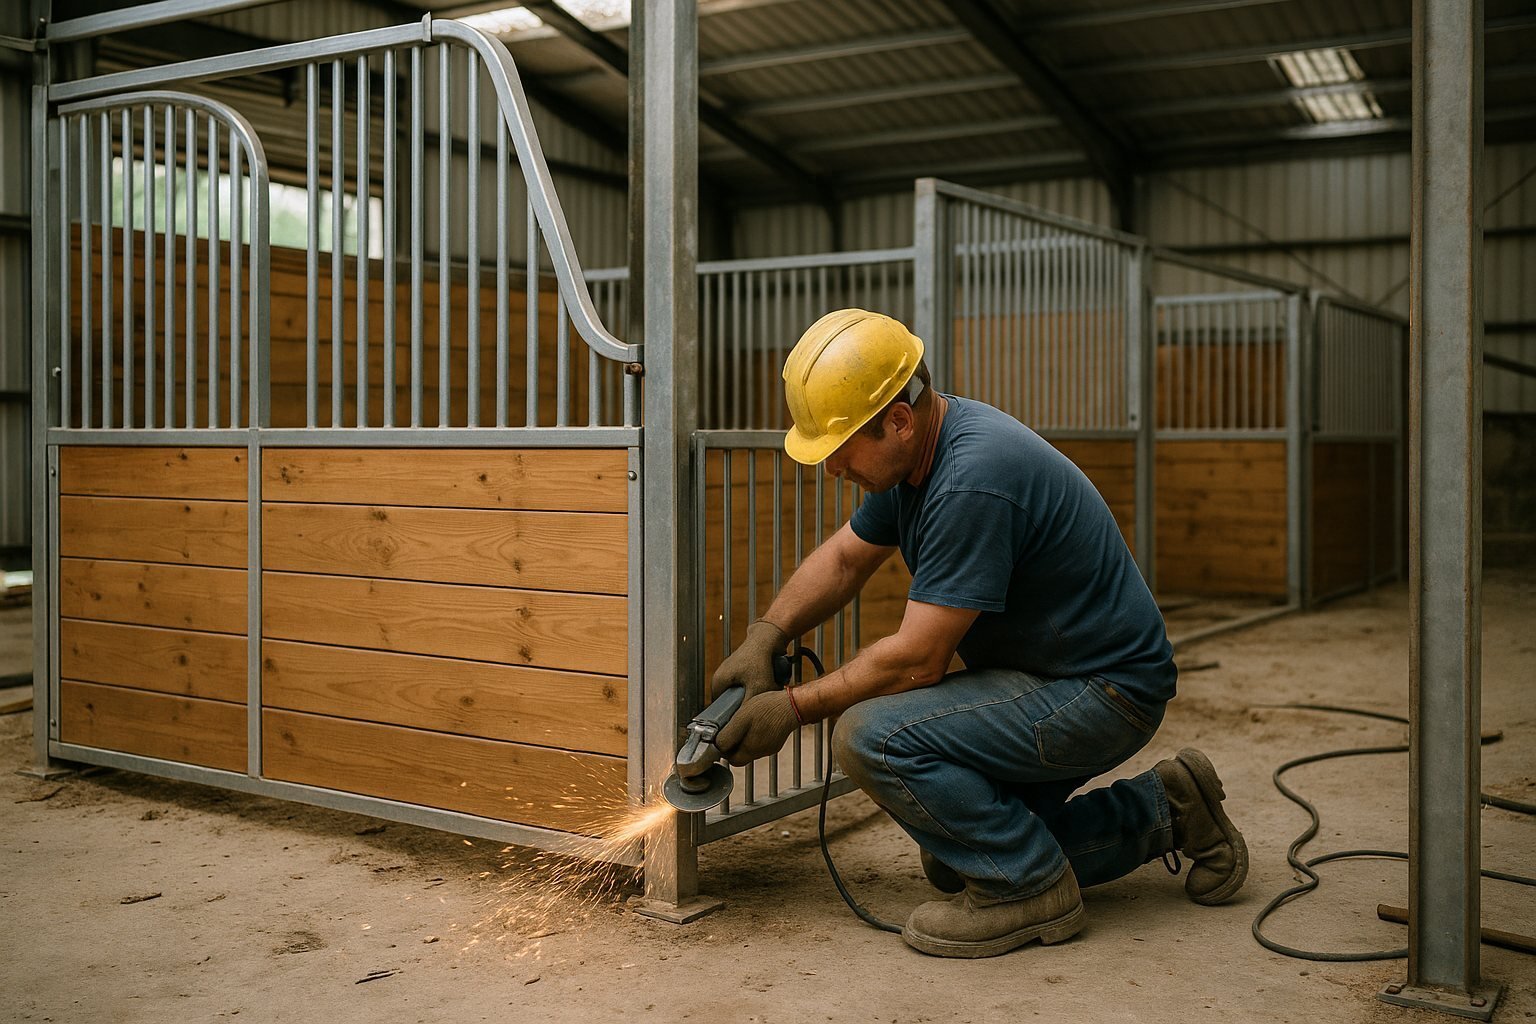
Follow the design drawings to install columns, ensuring each one is perfectly vertical and securely anchored.
Install beams and top frames to form the main structure.
Use galvanized steel or aluminum alloy materials with anti-corrosion treatment for enhanced durability.
Choose durable, scratch-resistant wall materials such as treated timber boards or HDPE panels.
Install stall partitions, ensuring proper spacing between bars to prevent horse injuries.
Keep the inner wall surfaces smooth for easy cleaning and to protect your horses.
Clean and level the floor before installing slip-resistant rubber tiles.
Start from one corner and lay the tiles tightly together; trim the edges for a perfect fit.
Use adhesive if necessary, and roll the surface flat with a roller.
Sliding doors: Install tracks, rollers, and guides for smooth and space-saving operation.
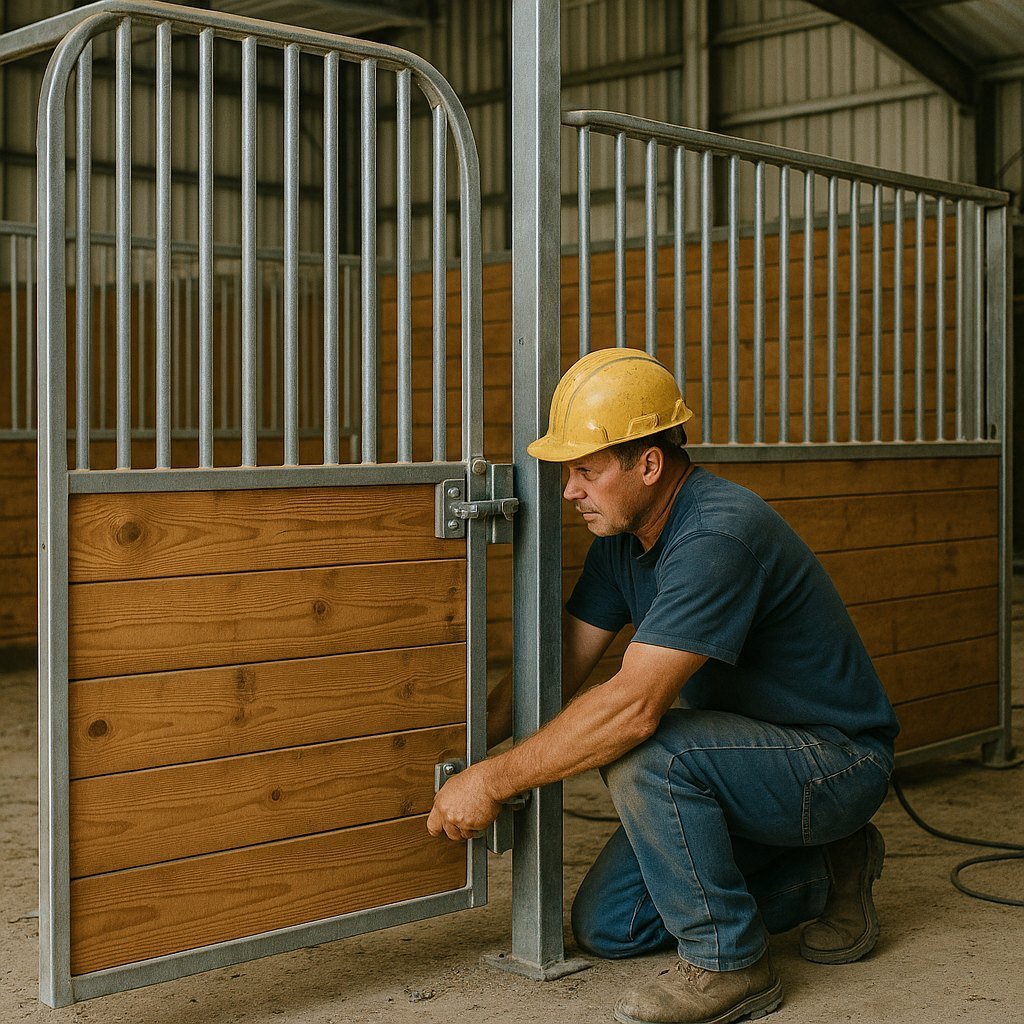
Hinged doors: Fix the hinges, mount the door panels, and add latches or locks.
Windows: Choose between fixed or operable designs to enhance ventilation and natural light.
 |  |  |
| Window | Hinged Door Horse Stable | Sliding Door Horse Stable |
Install accessories such as automatic waterers, feed bins, and tie rings.
Check that all doors and windows open and close smoothly, and ensure the flooring is flat and secure.
Give the entire stable a final clean-up to prepare for your horses' move-in!
Building a standard stable isn't as hard as it sounds — with the right steps, even beginners can get it right the first time!
From site selection to foundation, from framework to finishing touches, every detail impacts the quality and longevity of the stable.
Choosing a professional supplier like HopeHorse can greatly enhance your efficiency and final results, ensuring your horses live in a safe, comfortable environment.
Email: contact@hopehorsechina.com
Phone/WhatsApp: +86 18653225780
Head Office: Yulong Mansion, No. 19 Miaoling Road, Qingdao, China
